Mazda CX-5 2024 Non Bose Sytem | Helix M Four Dsp
Mazda CX-5 Complete custom-tuned Speaker upgrade with hidden boot subwoofer.
Original Setup:
Mazda CX-5 base sound system, consisting of:
front 2-way 6,5″ component speaker set
rear coaxial 6,5″ speaker pair
no centre speaker
no subwooferno amplifier
no soundproofing no power
New Setup:
MUSWAY ME62.C – 6,5″ 80W RMS 2-way speaker set | front doors
MUSWAY ME62 – 6.5″ 80W RMS coaxial speaker | rear doors
HELIX M 4DSP – 4-Channel 400W RMS digital high-end DSP amplifier
STP Accent Gold 6 | Car sound deadening adhesive sheet 6mm
STP Biplast Gold 10 | Car sound deadening adhesive foam 10mm
Plug and Play Haness MATCH PP-AC89 matching the car’s head unit connector
ESX VS1100P – 150W RMS vented passive spare tyre subwoofer
About the upgrade:
INTRO: Before the installation
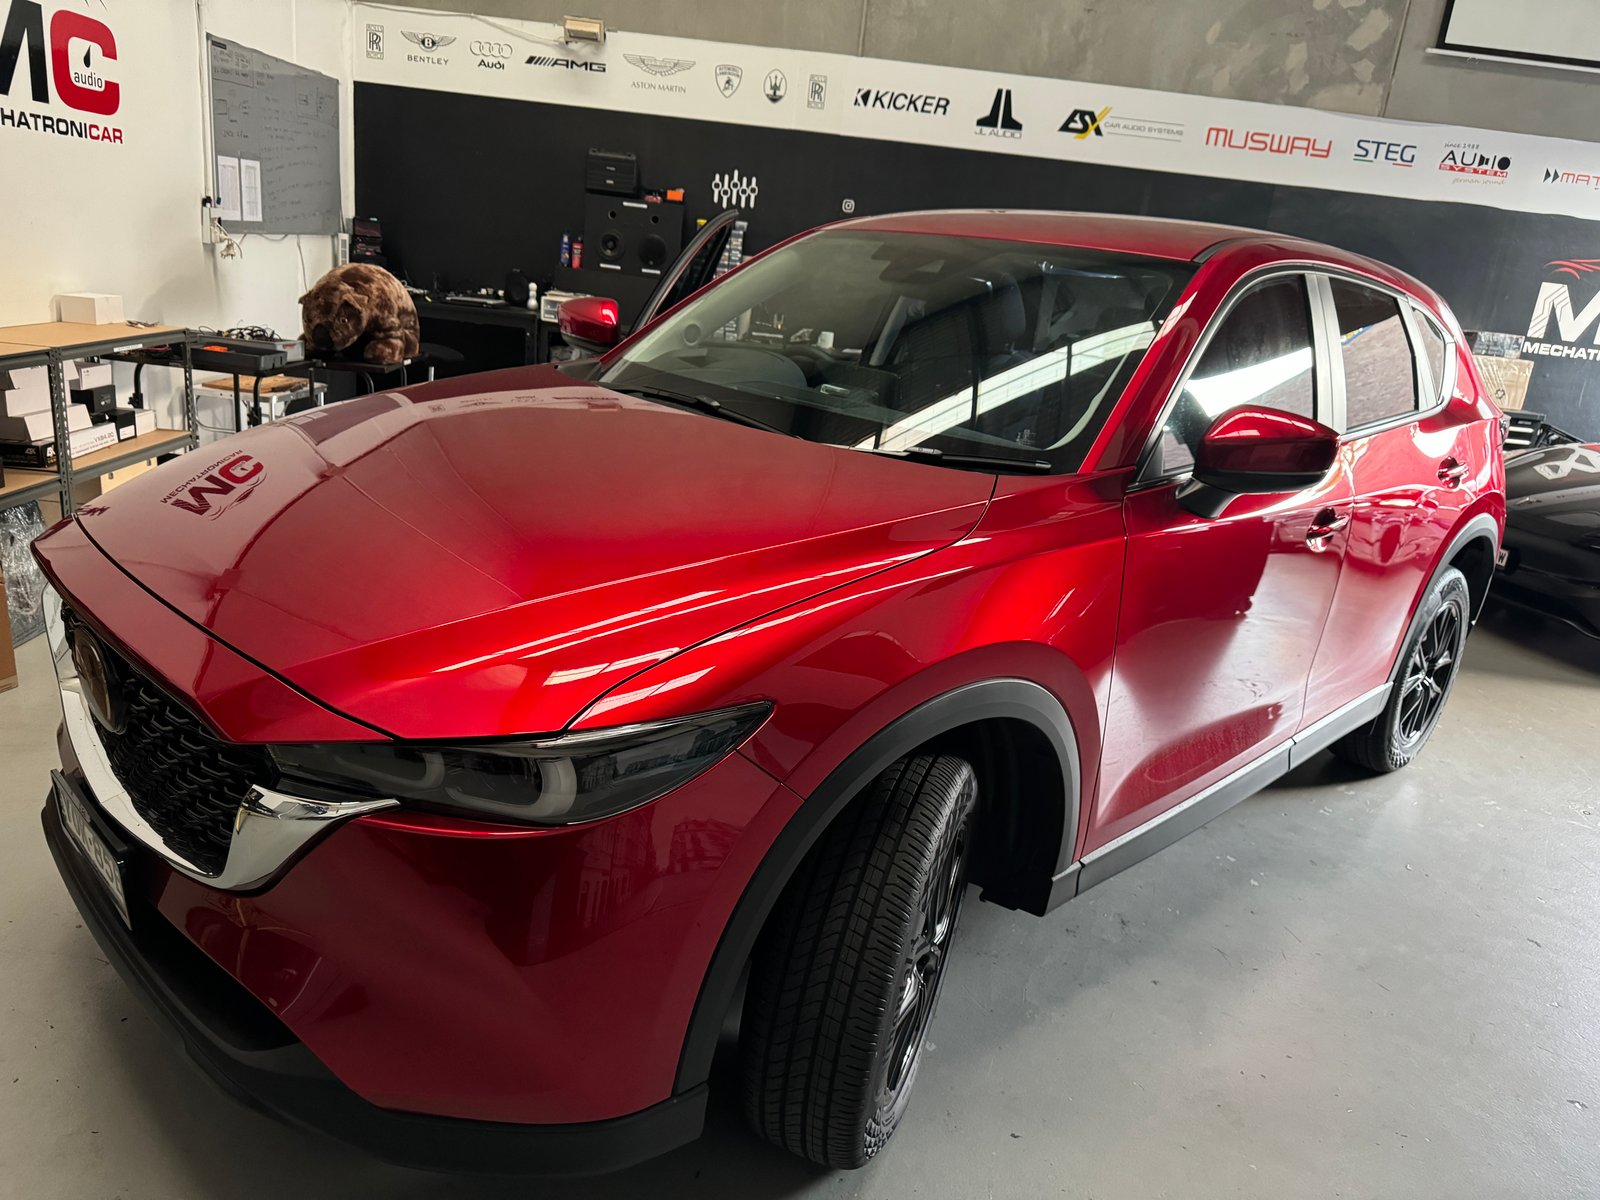
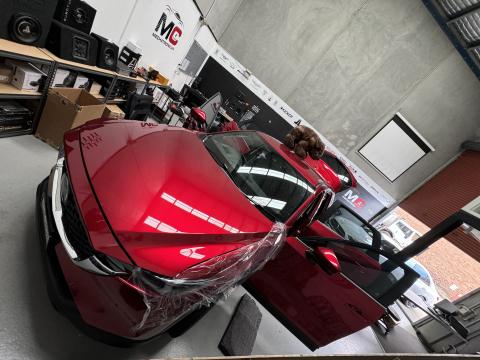
John’s brand new Mazda CX-5 Maxx Sport 2022 got in our hands for the sound system upgrade because the base model was, as he described it “horrifying”. After listening to a few songs in the car, it was clear to us why he had been seeking an upgrade.
It’s usually the case that the very base models of most car brands don’t have much to offer in terms of sound quality. The CX-5 was particularly poor in the mids and upper mids as it was lacking the body. Very dull sound system with an almost plastic sound colour, tinny highs and not even talking about the lack of any sort of bass, except the one emitted by the ringing of the door sheetmetal.
And that’s where we got excited! There is nothing better than to bring the worst to the best. The good thing was we had a decent budget to work with so we had free hands to put together a very premium Mazda-compatible solution.
PHASE 1: Preparation
As car audio installers, we have the advantage of having all the right tools, parts and accessories always handy for any kind of car audio upgrade that might come our way.
For this job, we decided to combine a few German car-audio brands to get the results we wanted. That is STEG, MUSWAY and MATCH DSP Amplifier.
Front speakers: MUSWAY ME62.C – – 6,5″ 80W RMS 2-way speaker set.
This set is already in the middle-end category where the focus is not on the loudness but rather on a well-balanced performance. That was exactly what we wanted as John was not fussy about blasting the speakers but rather enjoying his music at moderate volumes. The tweeter speakers have phenomenal design and thus could be mounted flush with the A-pillar trims, totally enhancing the car’s design but most of all, having a direct connection to the listeners’ ears with no covers worsening their clarity.
Rear speakers: MUSWAY ME62 – 6.5″ 80W RMS coaxial speaker. These coaxial drivers are really amazing for what they cost. They could easily cost twice as much and it would not be wasted money as their tonality is very close to those of much higher ranges.
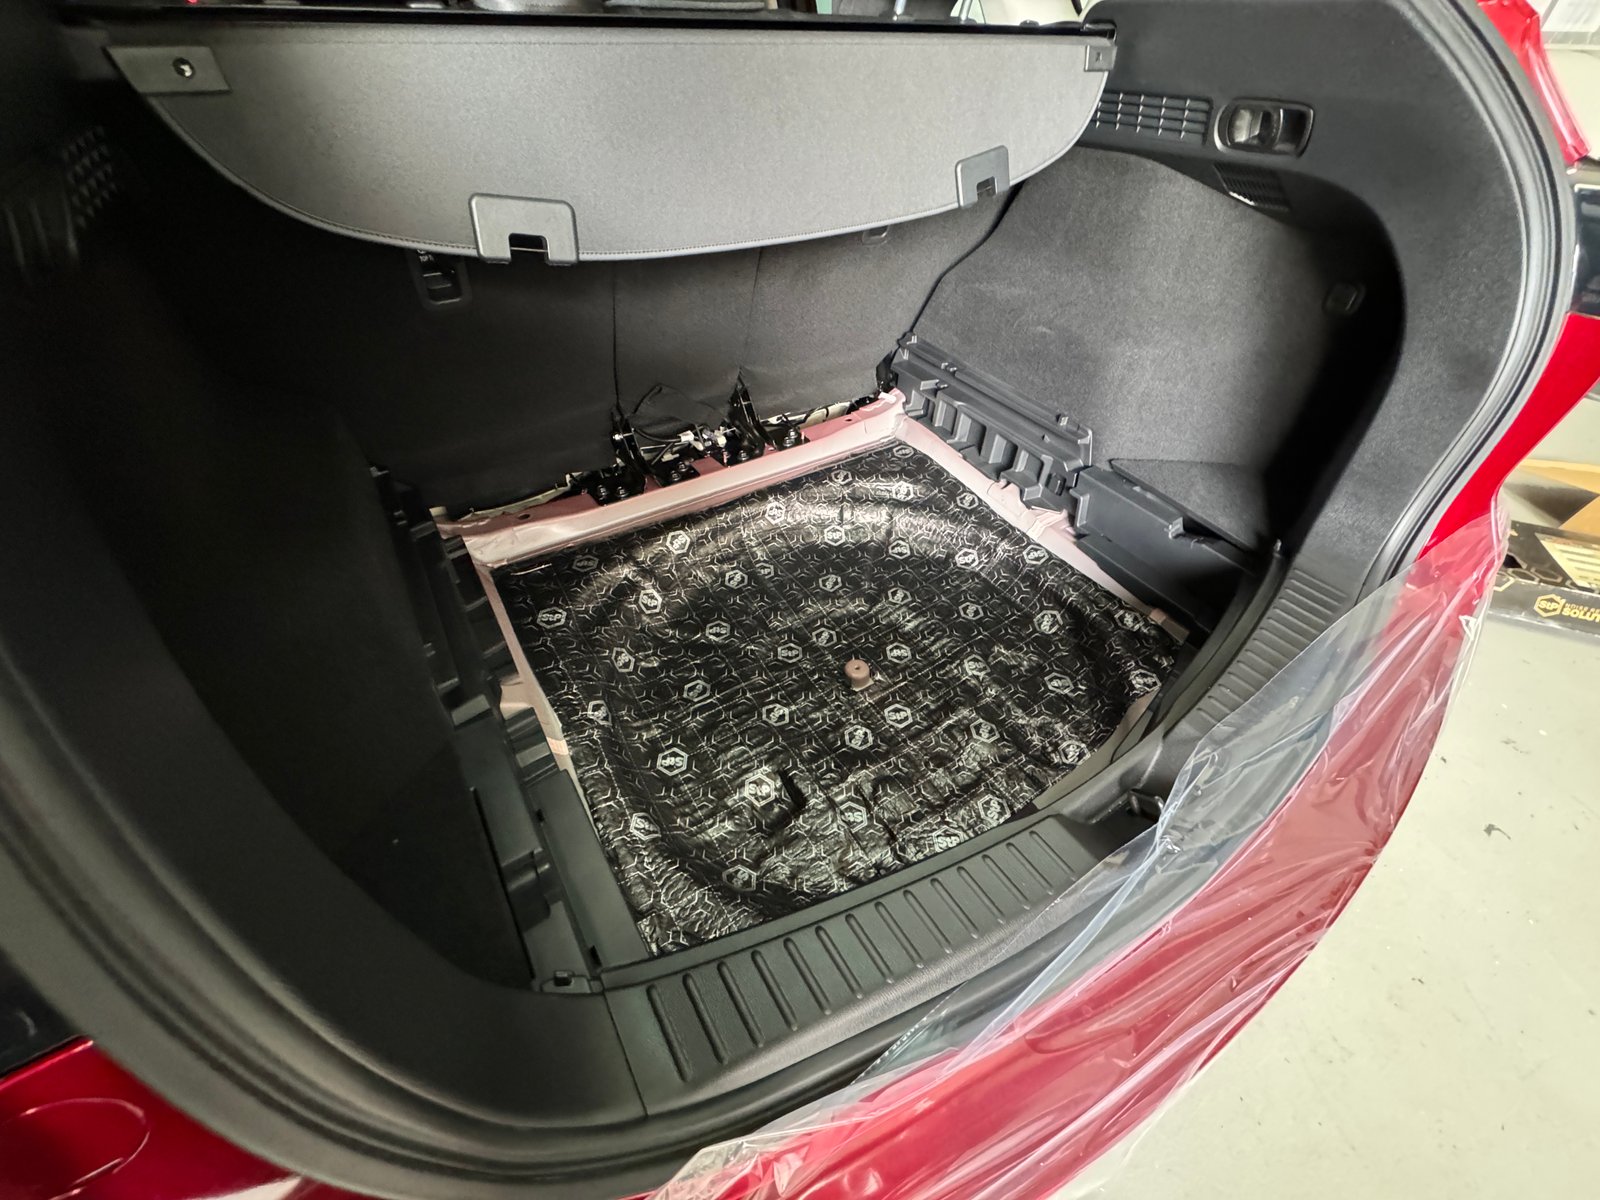
Subwoofer: ESX VS1100P – 150W RMS vented passive spare tyre subwoofer was an ideal choice for several reasons. First – it perfectly fits inside the spare wheel so it does not take any of the boot space away. Second, it’s passive and can be easily powered by an amplifier which we have done. It’s strong enough to support the front speakers with a very nice and warm bottom-end bass. Especially if the power is not the main need, when playing in moderate volumes, the sub can be open to quite low frequencies such as 35-40Hz.
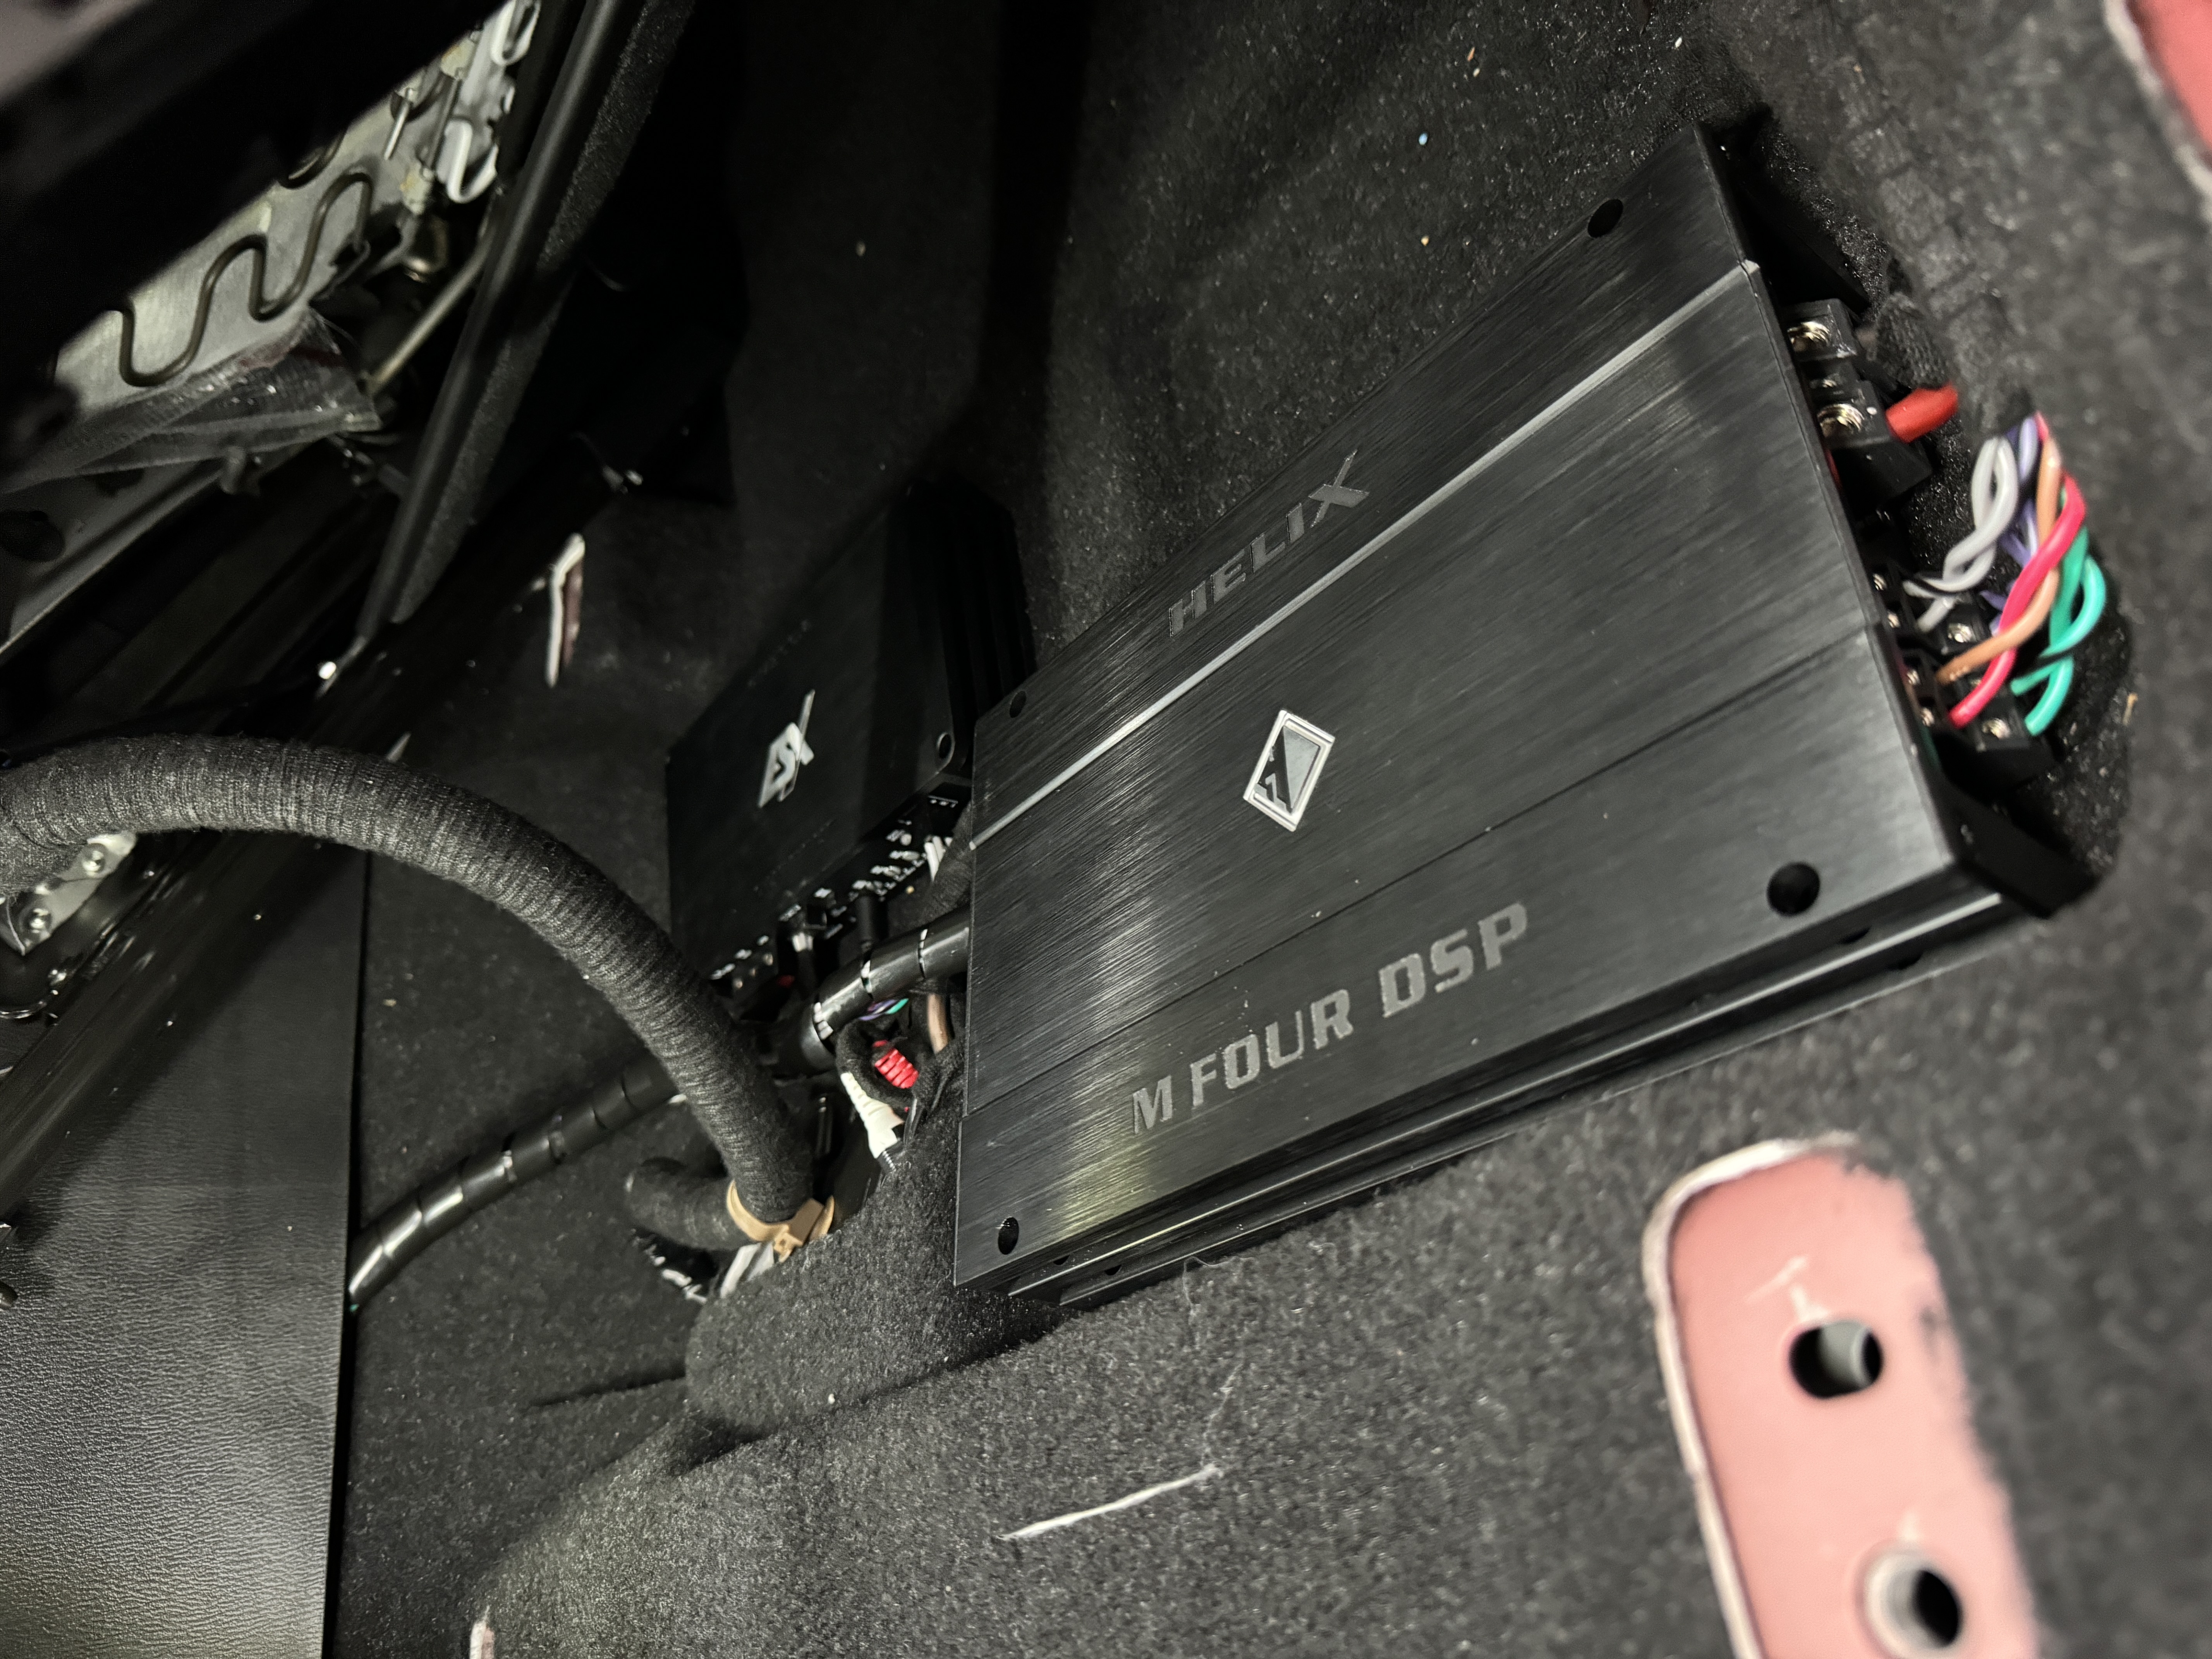
Amplifier: HELIX M 4DSP – 4 channel 400W RMS digital high-end digital signal processing powerhouse. If you’re not familiar with amplifiers and their so much advanced technology, you’re missing out a lot. These are basically small computers performing on levels that other amps can only dream about. From an input signal digital analyzer, through complete DSP setting and tuning up to 5 channel amplification, they are just versatile and powerful like nothing else we’ve seen.
Adapter: MATCH PP-AC89 – Harness to match the car’s factory stereo connector. Using this adapter, we do not need to be tapping on wires, cutting them and rewiring anything. We simply disconnect the car’s main head unit’s plug, put our T-harness there and can easily get to the signal, tune it, amplify it and send it back to the speakers using the car’s factory wiring.
Cables: Pre-twisted oxy-free copper wire premium speaker cables for tweeters and subwoofer used in this installation. German made.
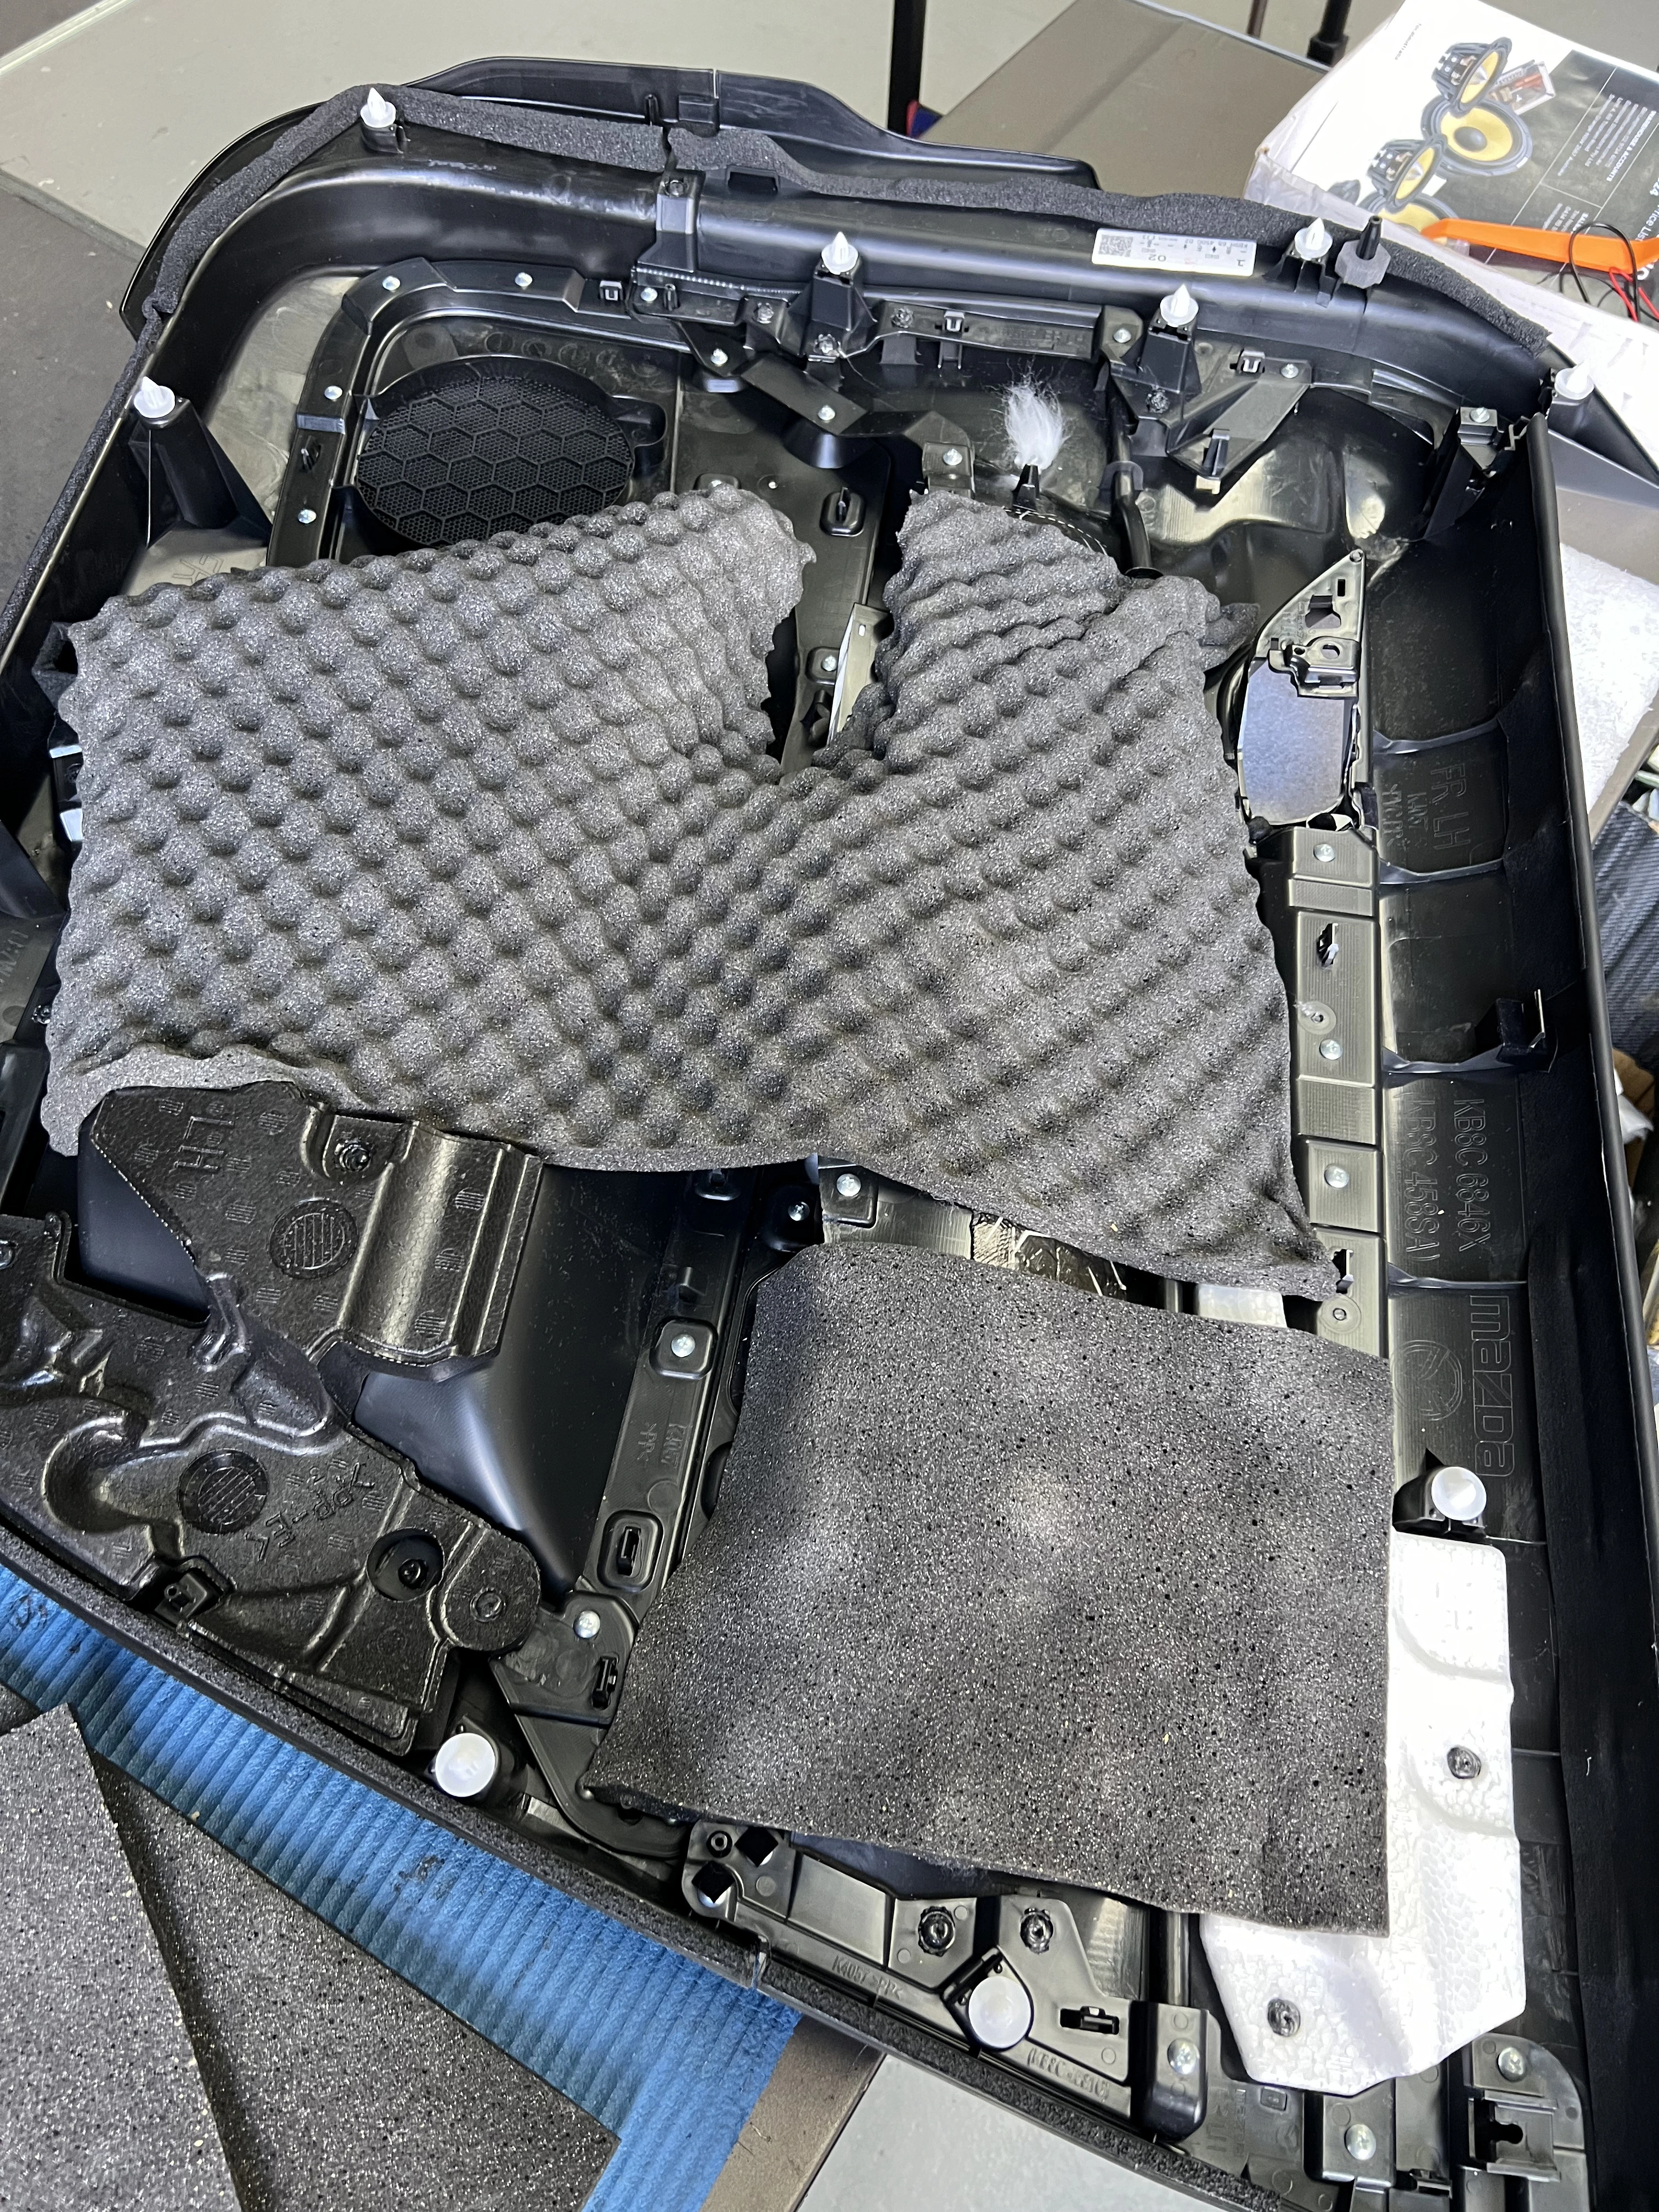
Sound deadening material:
STP Accent Gold 6 | Car sound deadening adhesive sheet 6mm
STP Biplast Gold 10 | Car sound deadening adhesive foam 10mm
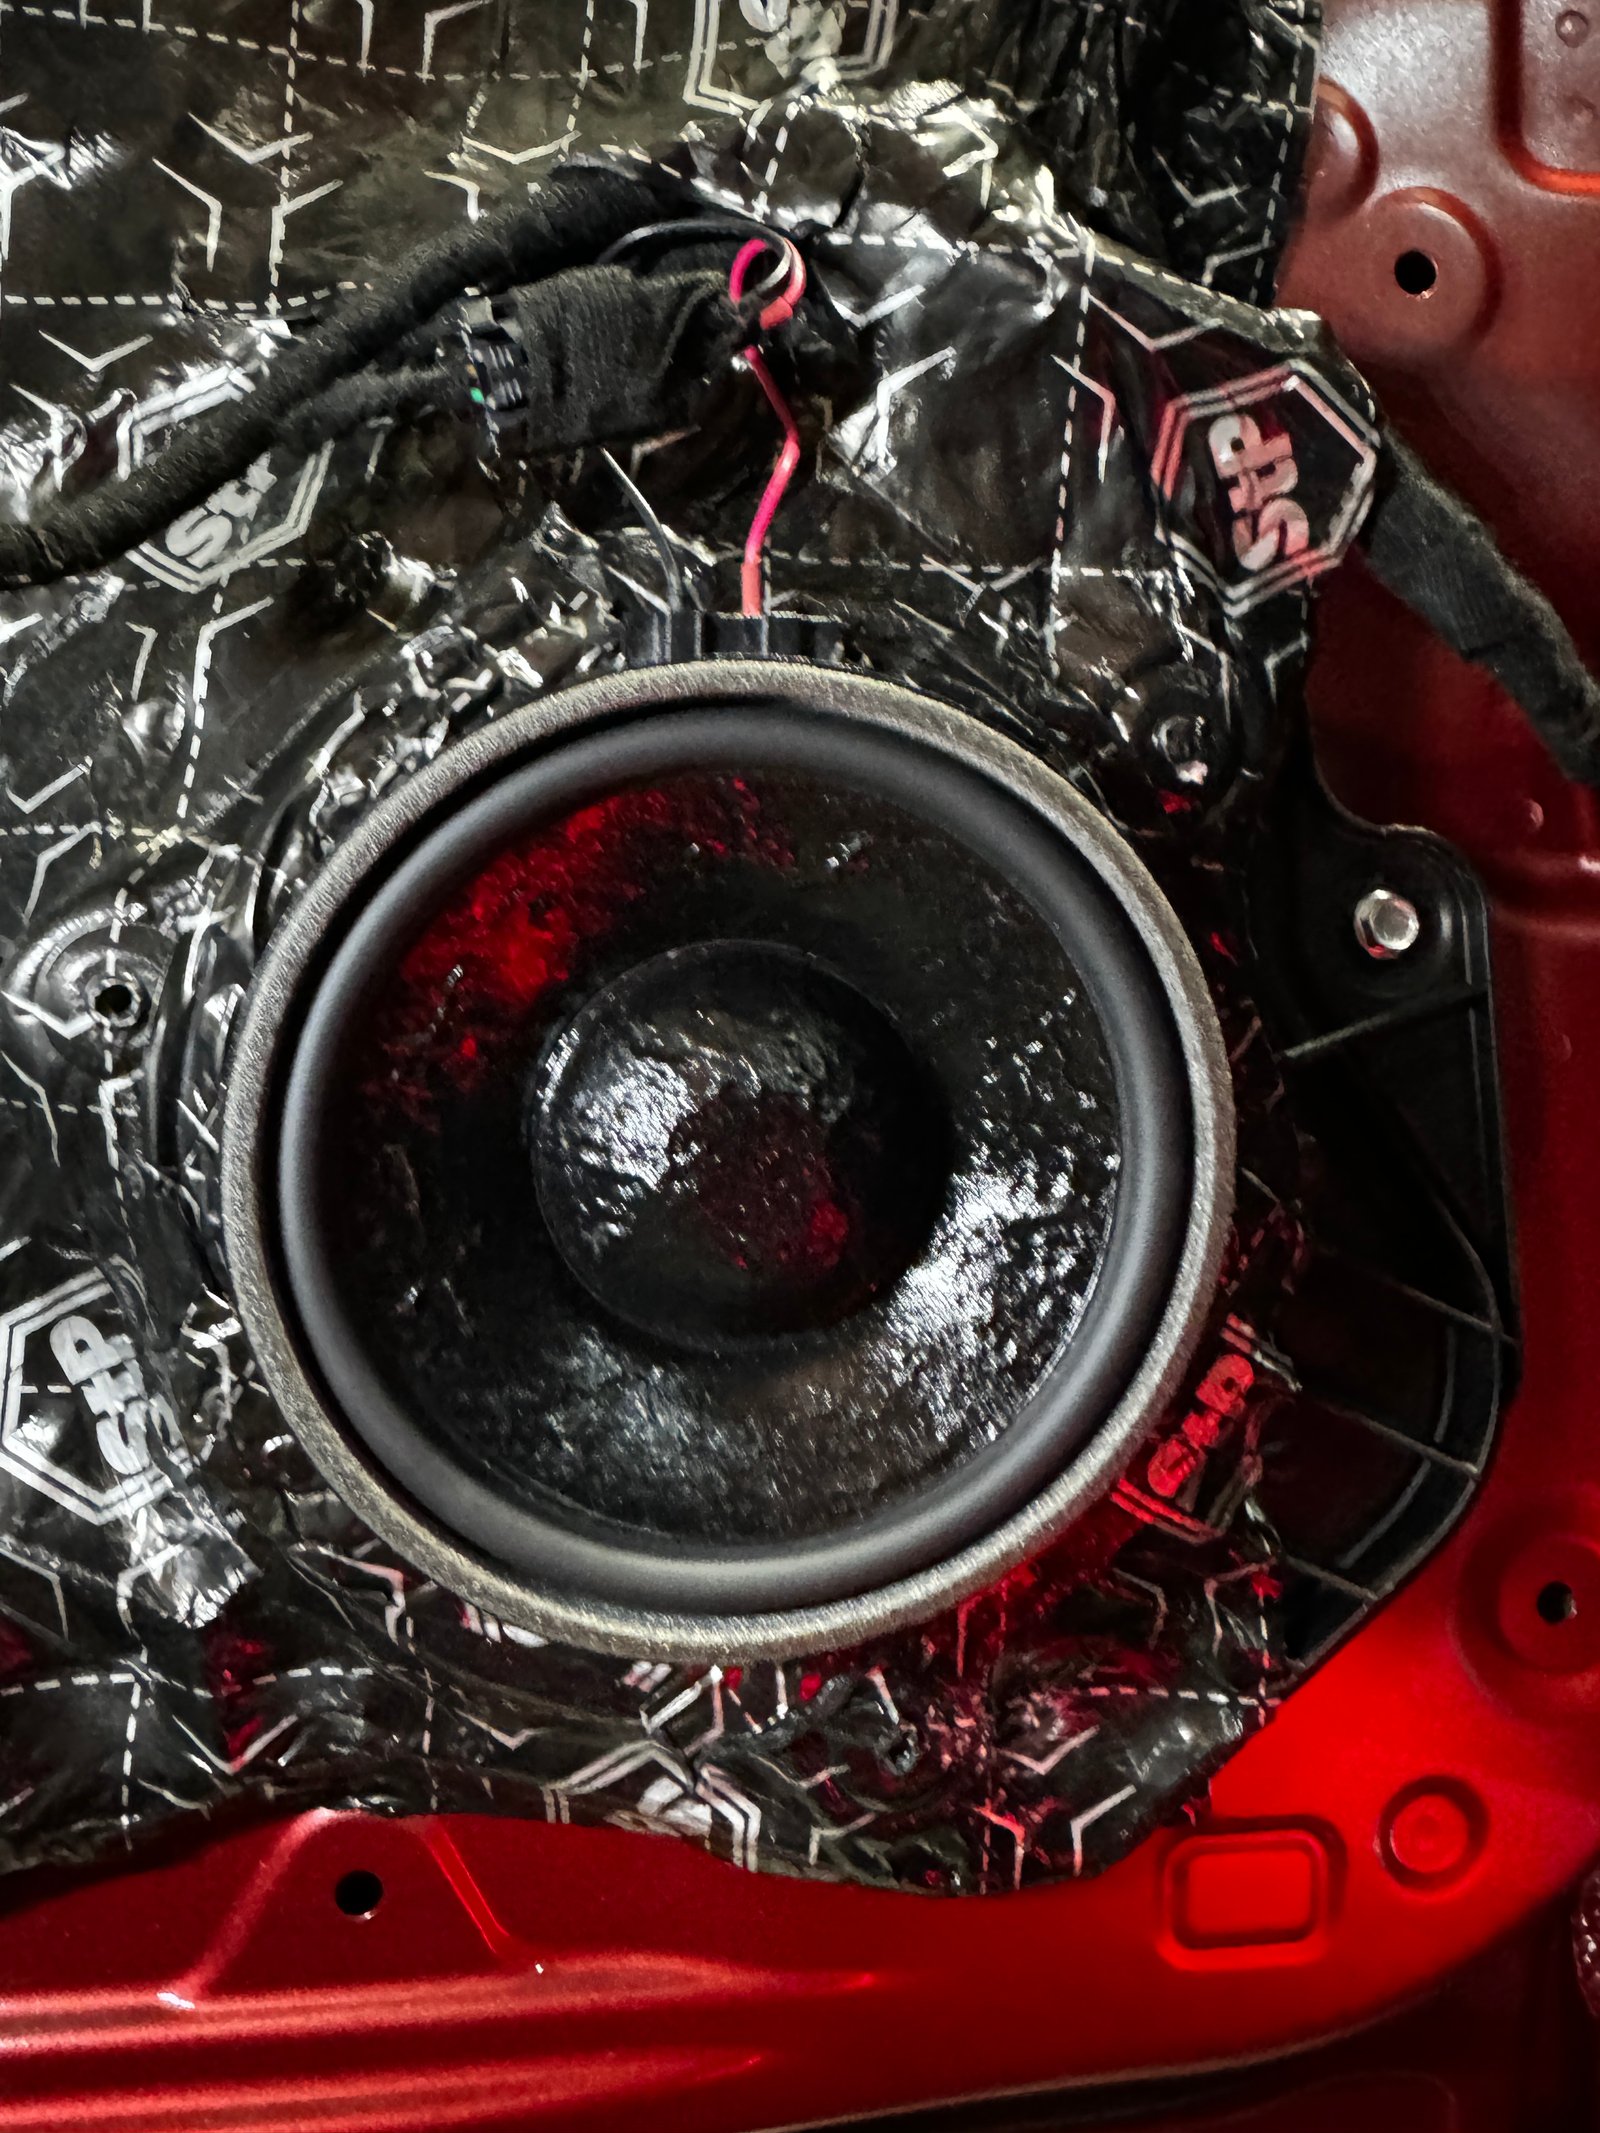
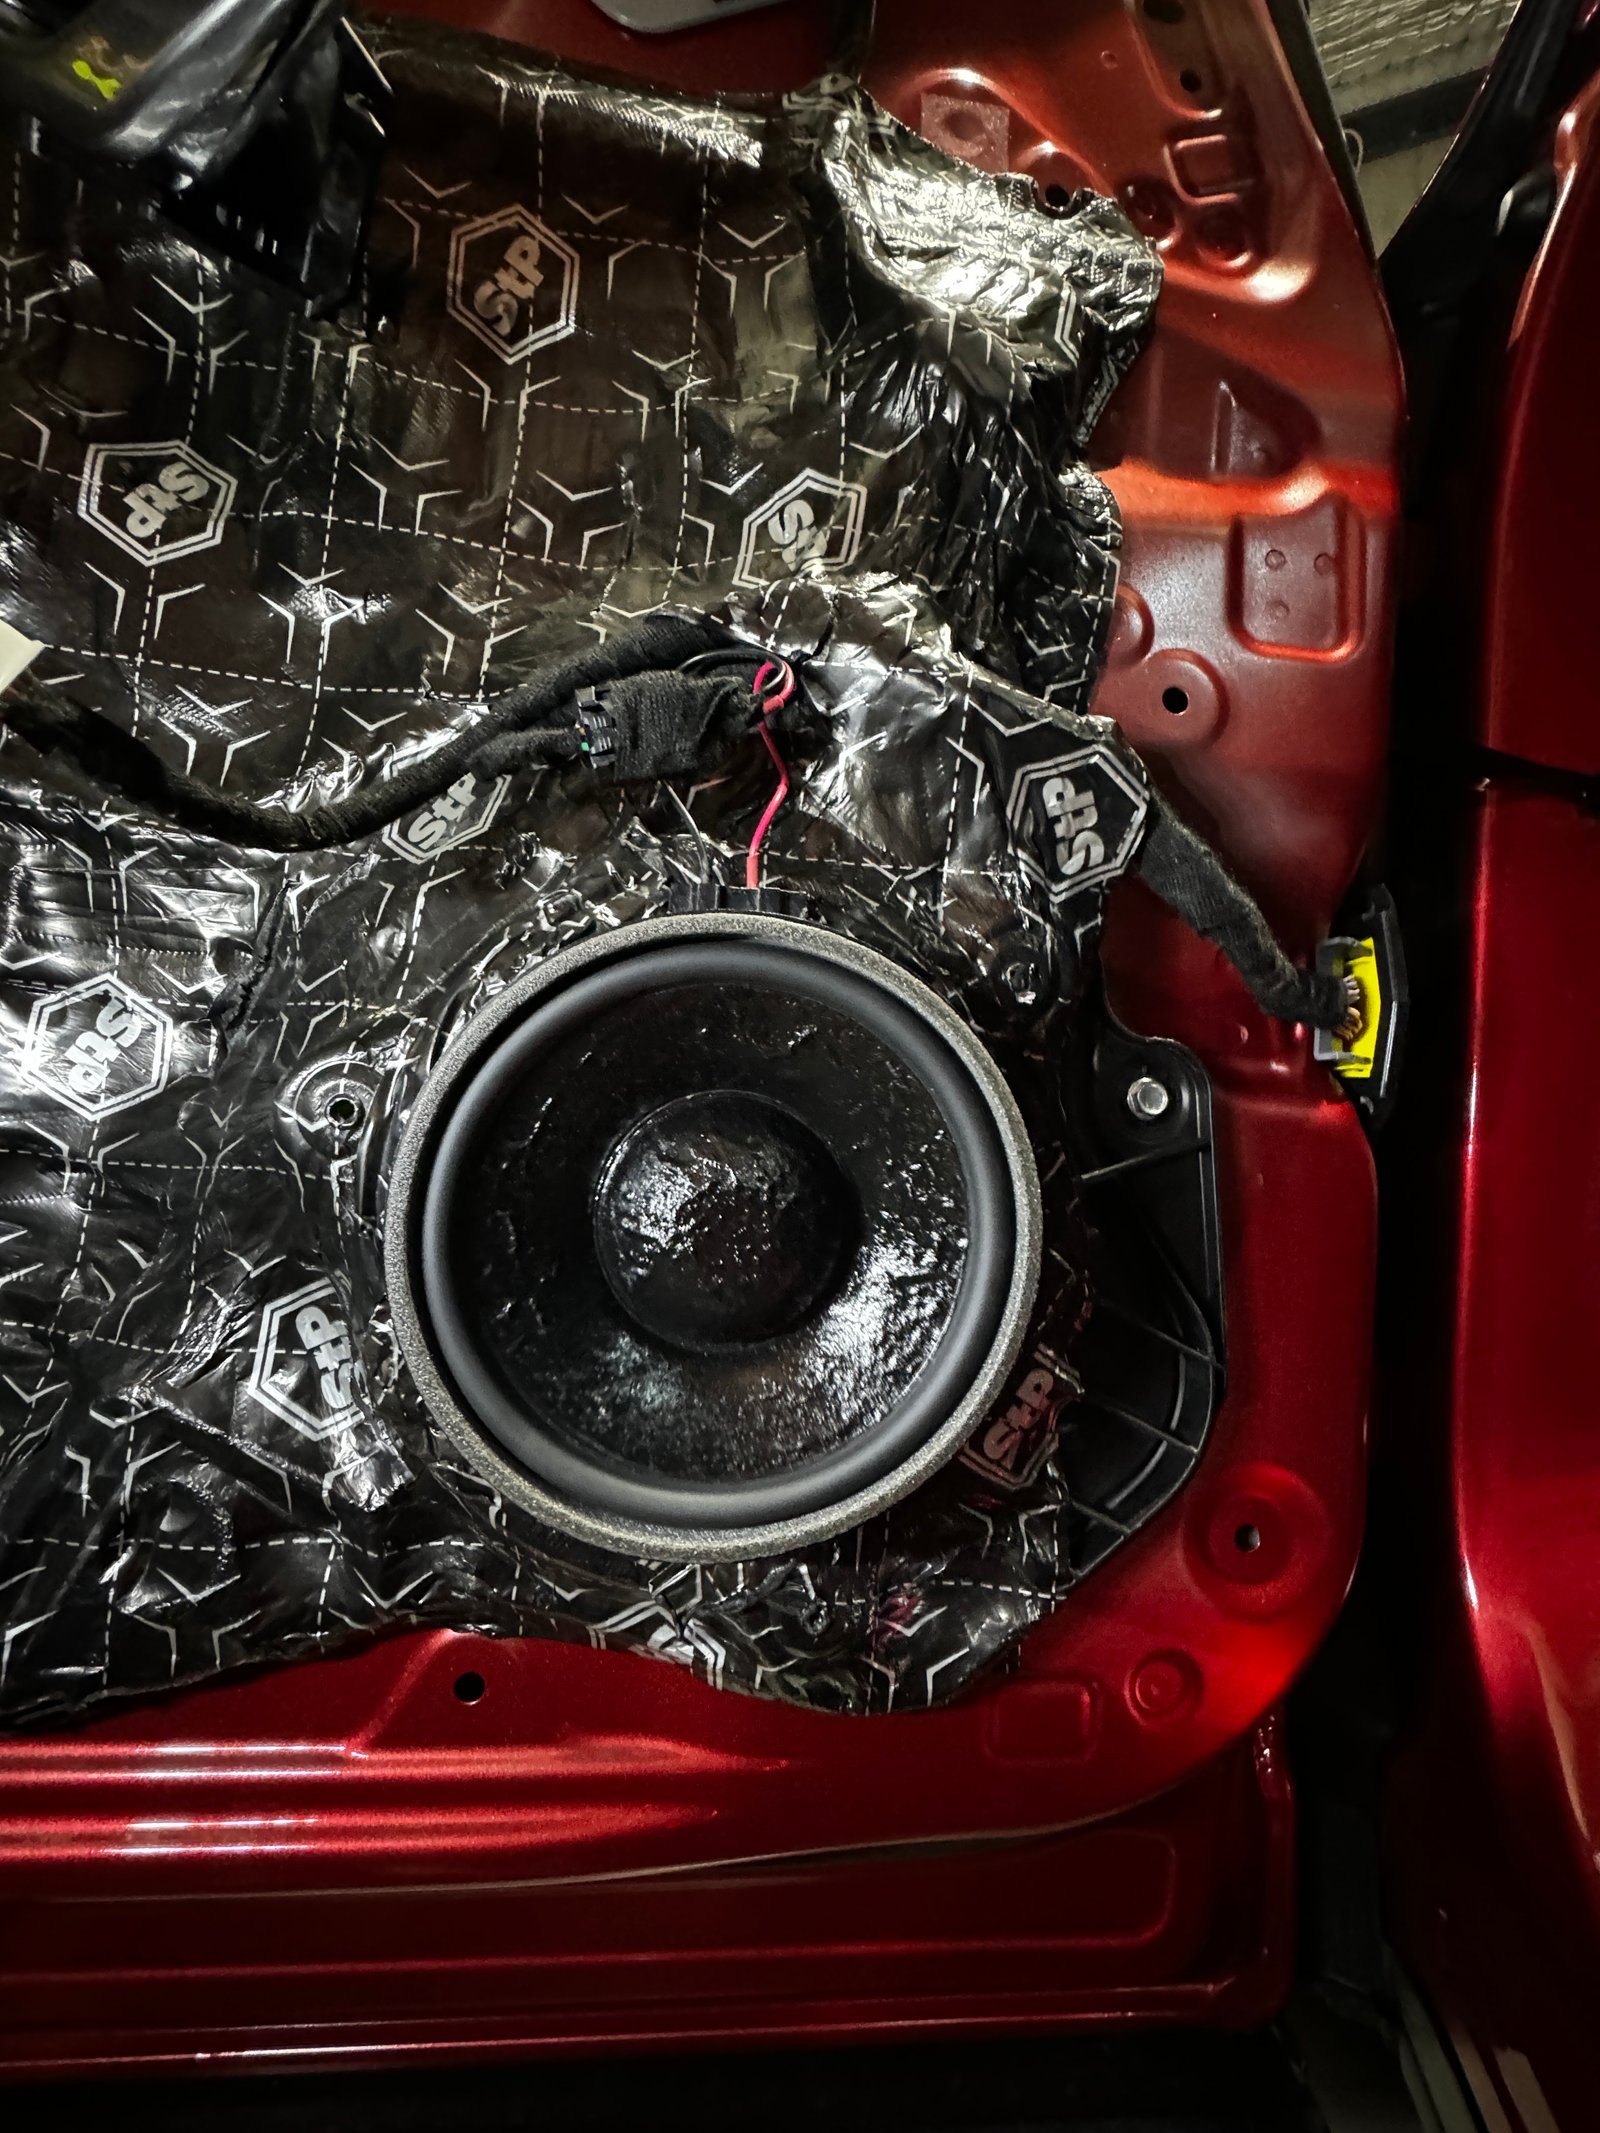
These were our selected materials for this job, applied on the doors. That is on the outer skin, inner skin and on the inside of the door trim to create the best possible acoustical environment for the speaker to play in.
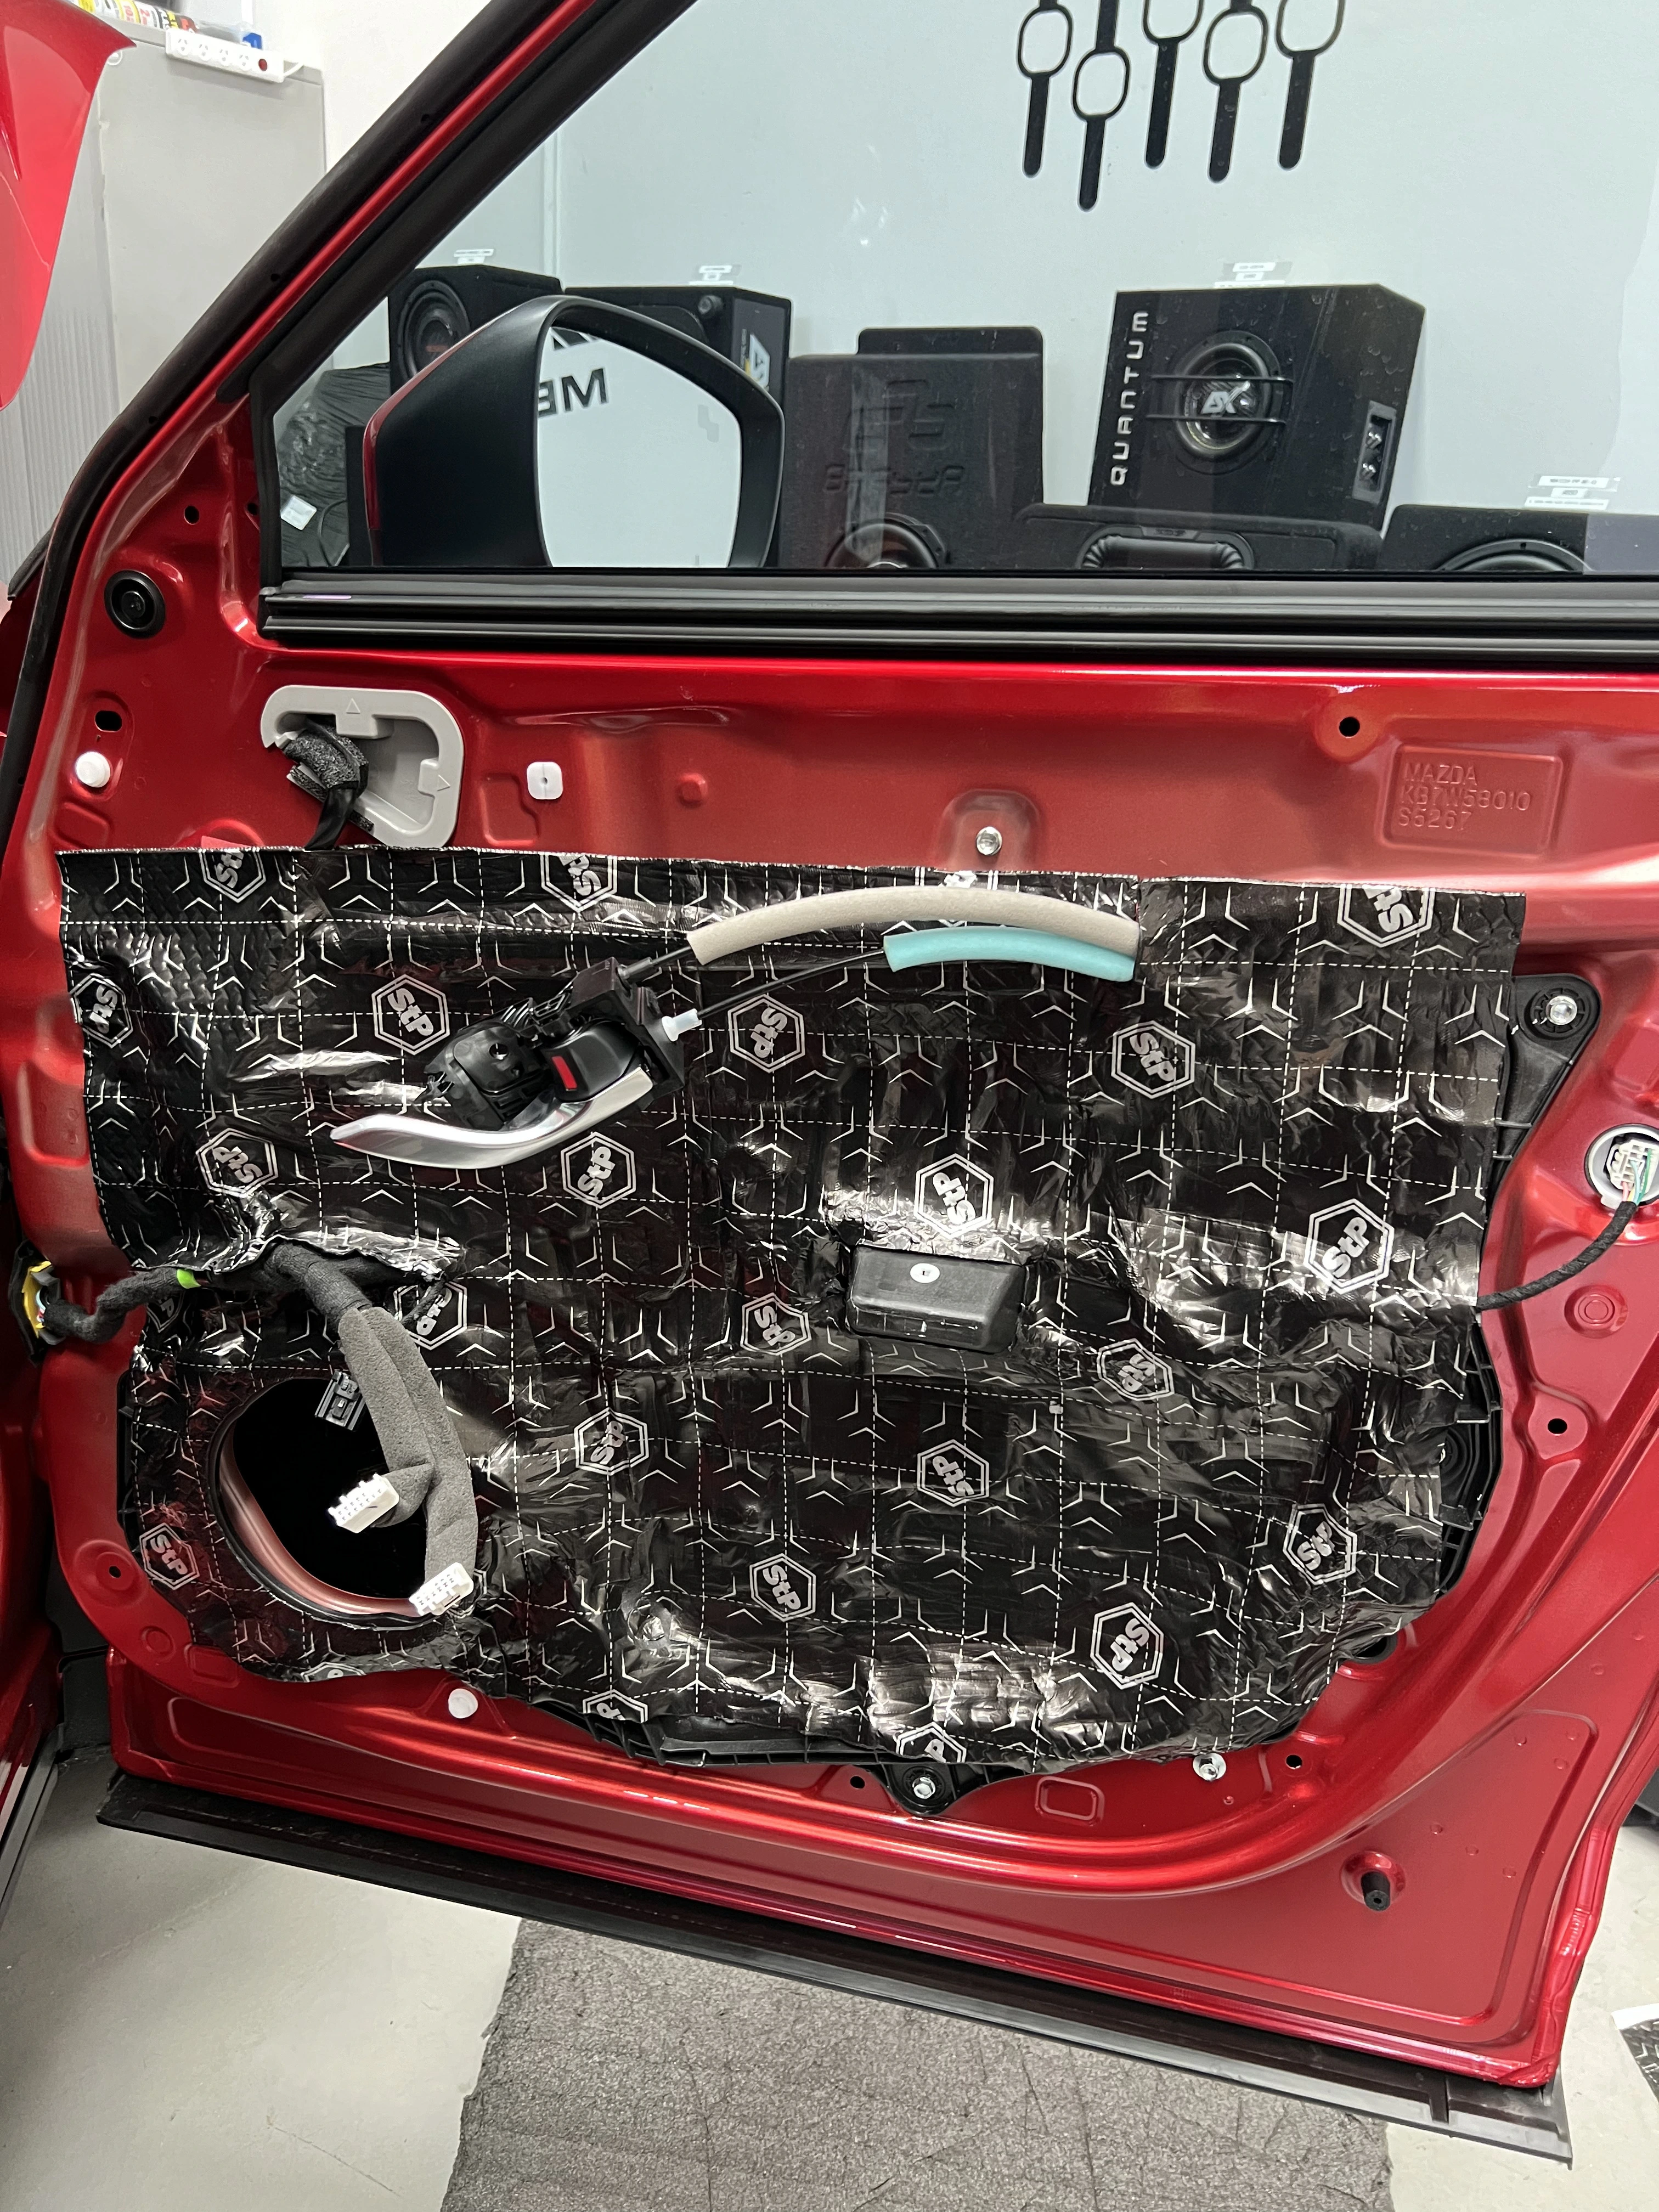
PHASE 2: Installation
Removing the door trims and their inside panels was the first part. Then sound deadening of the entire door, and all 4 of them was the next.
After this was done, we fitter the speaker spacers on the doors, making sure of no air gaps for the speakers to leak. It’s important to use isolating foams and layers so the speaker never leaks. If it does, it compromises its performance due to the rear sound waves of negative polarity cancelling out the front waves of positive polarity. We see so many upgrades done where there is no attention to these aspects at all.
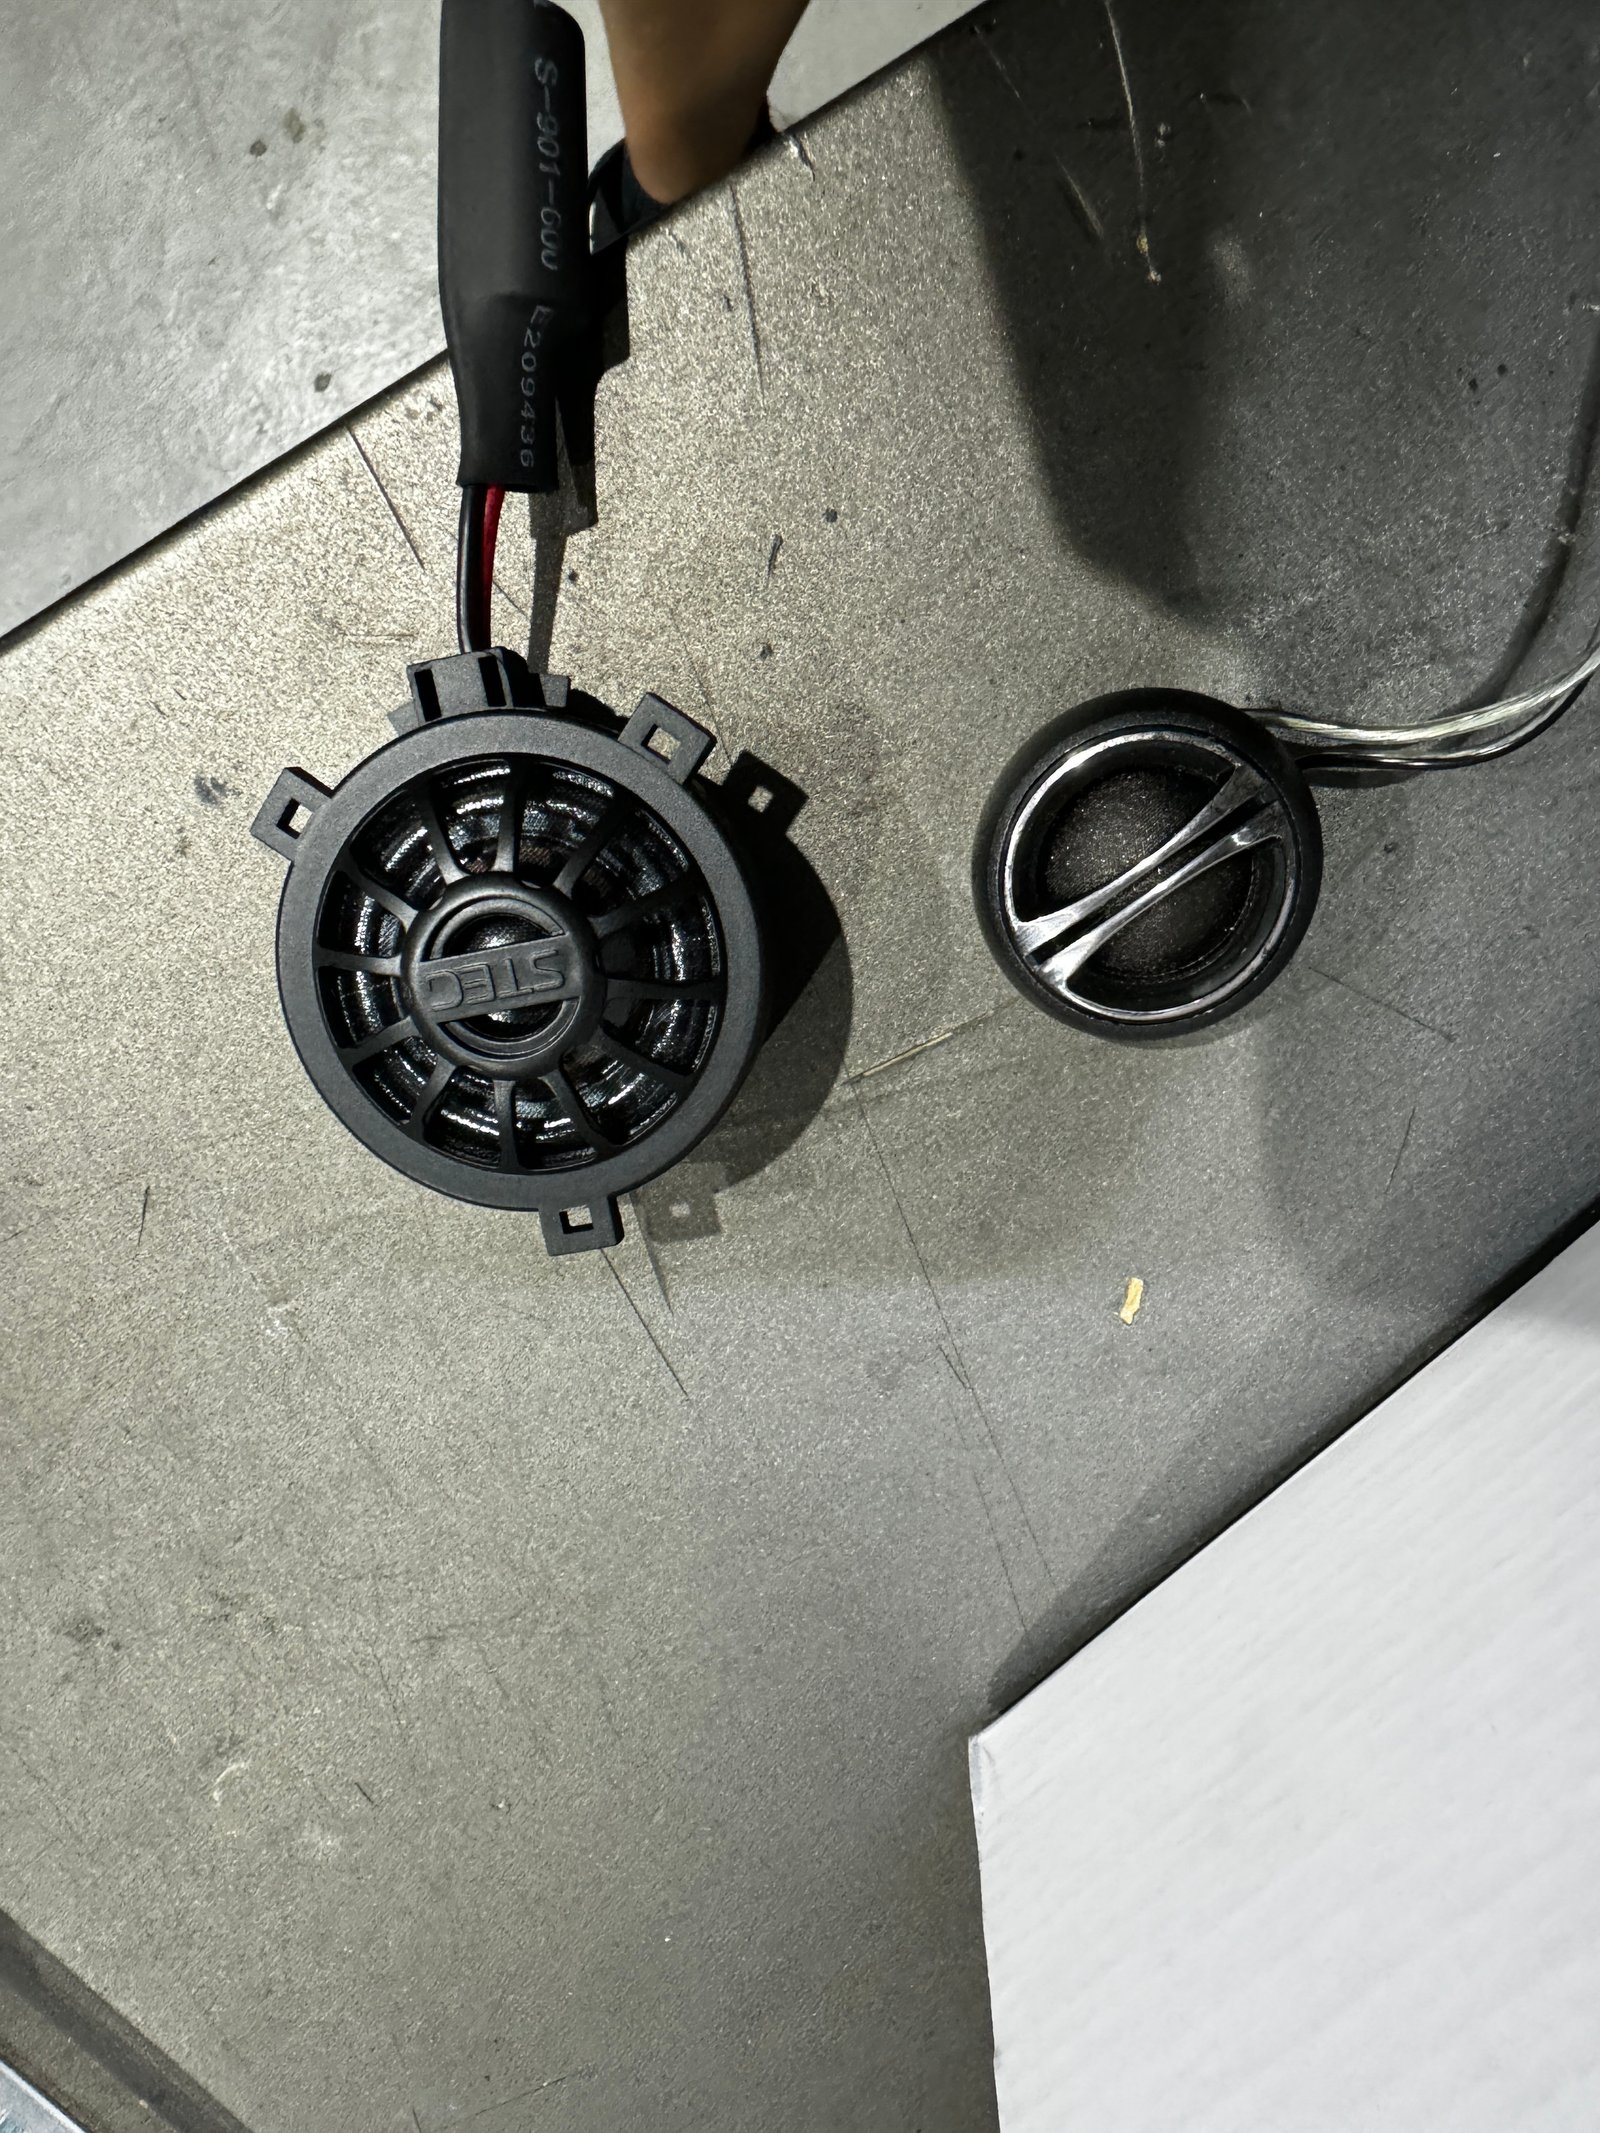
Tweeter speakers with a beautiful metal ring design were mounted on the outside of the door A-pillar trims to be seen and to have a direct radiance to the car’s space with no obstacles. This is a very powerful benefit making the system’s clarity and sound staging far better than the other way of installing tweeters – hiding them far behind.
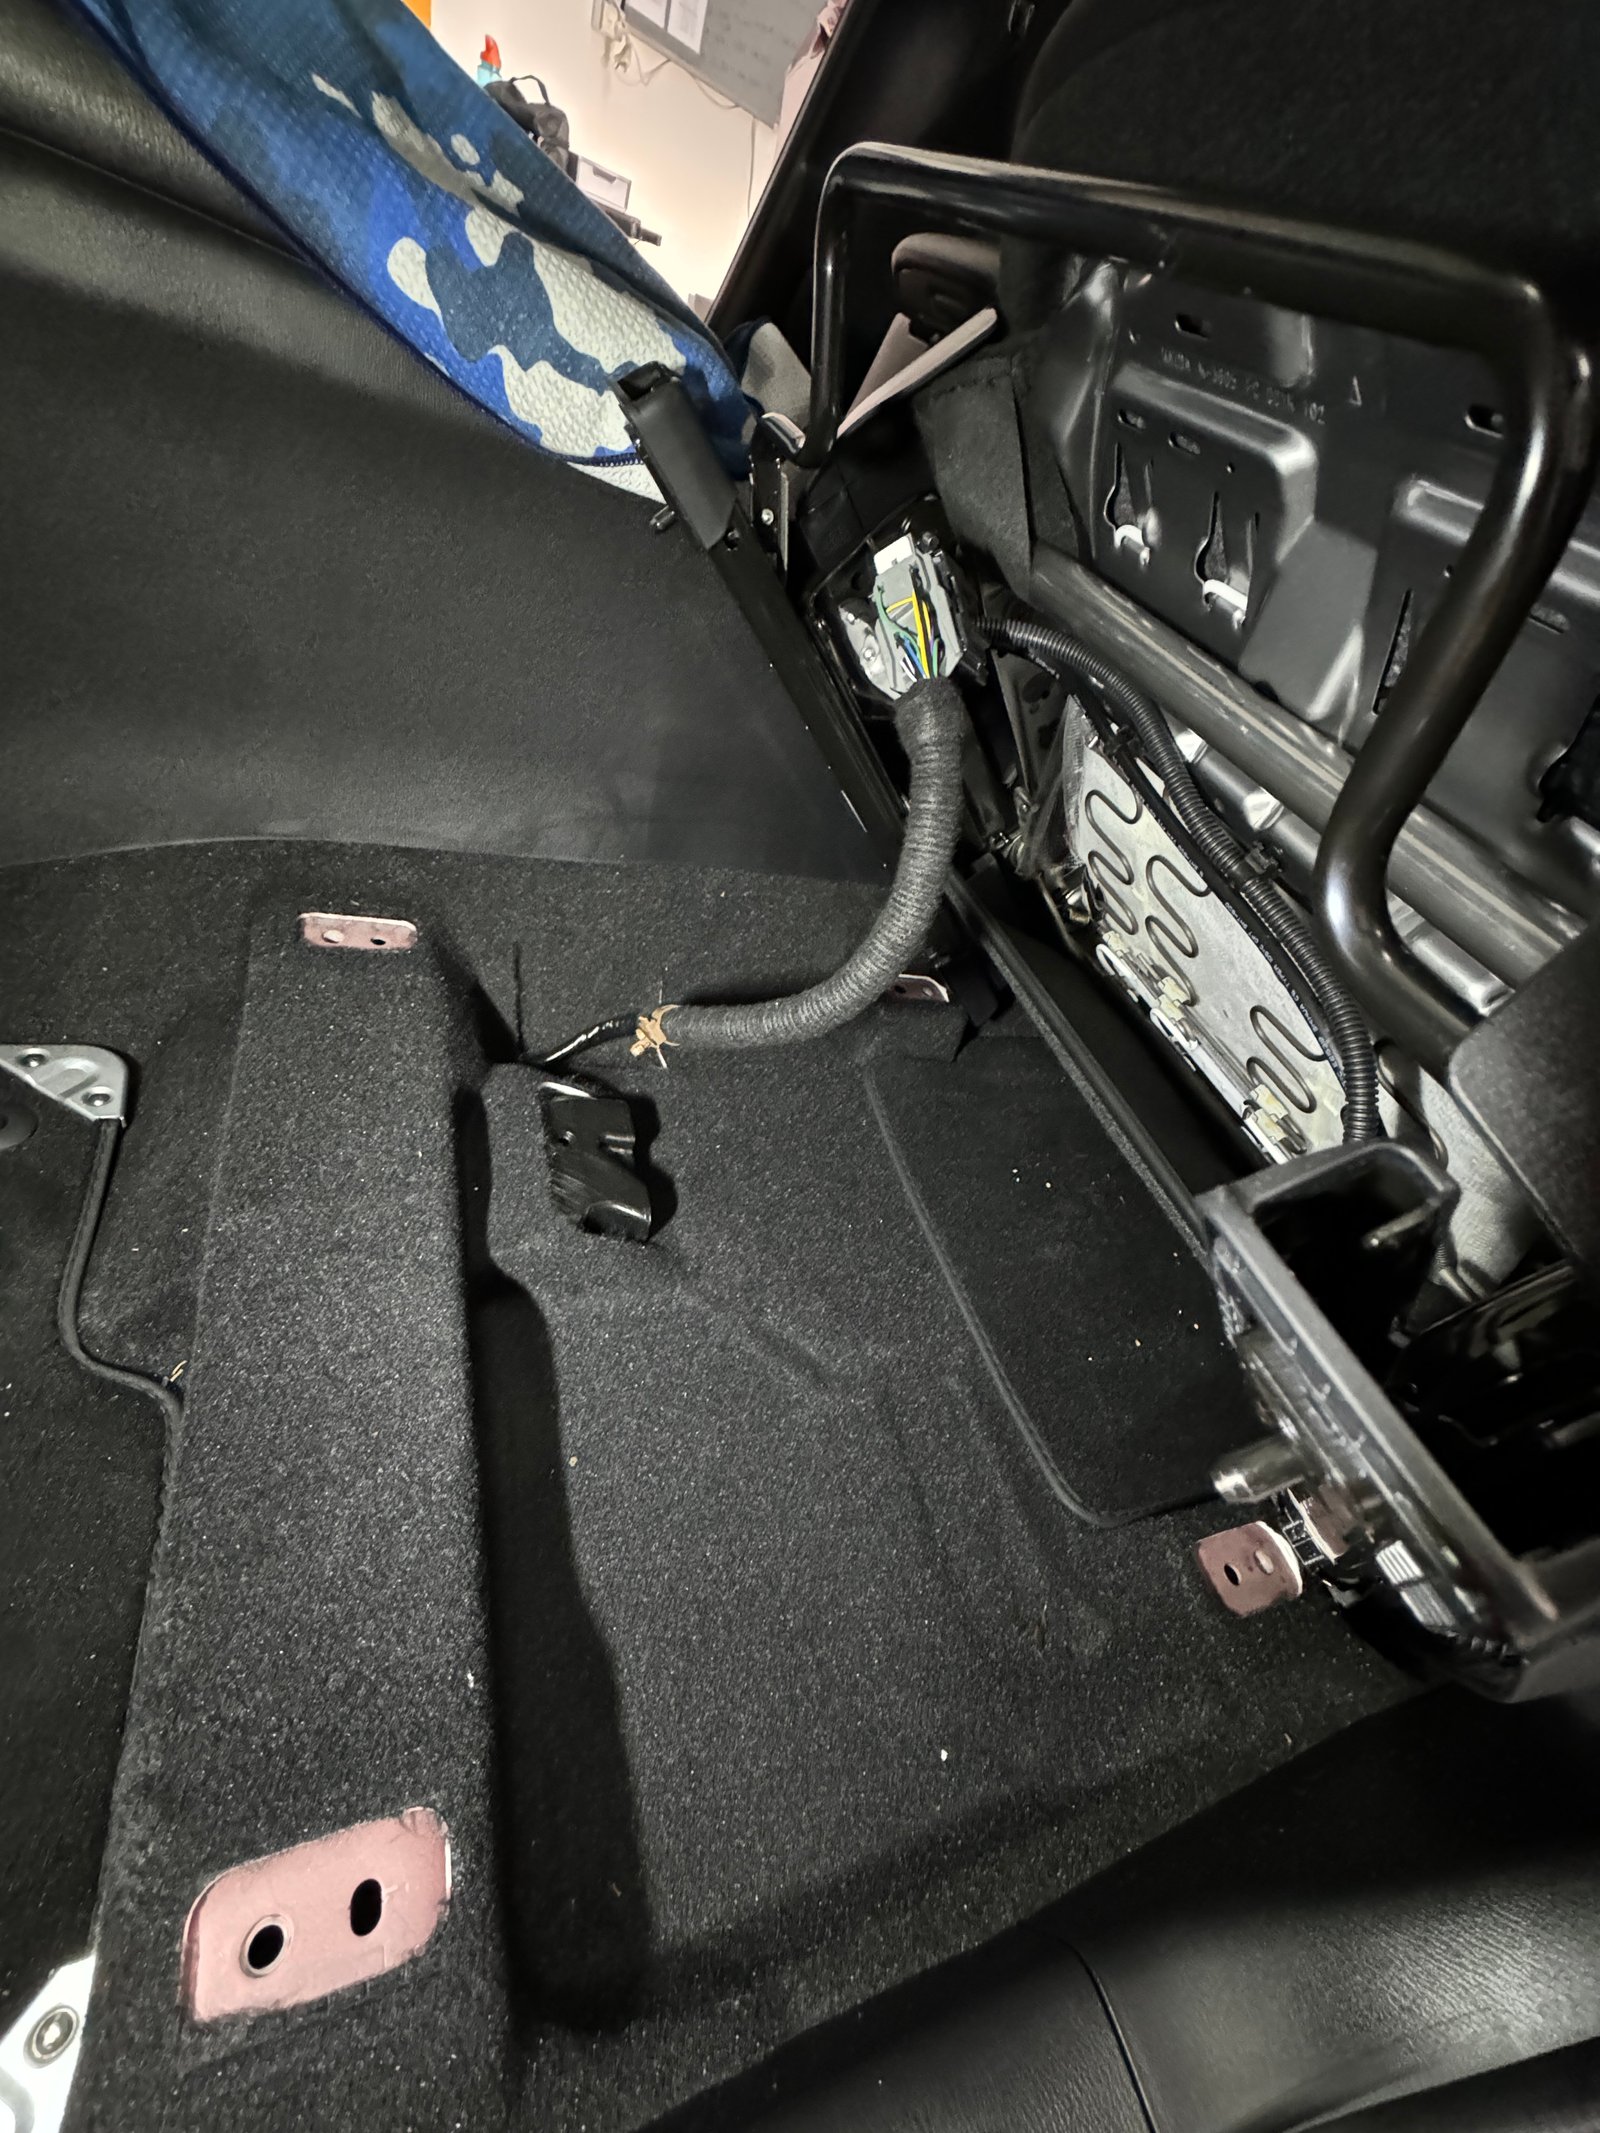
The DSP amplifier is so small that it can be hidden almost anywhere. In this Mazda CX-5 2024, we decided to mount it on the plate behind the driver’s kick panel. That is also where the head unit connector is so we could easily plug the amp into the car’s stereo outputs and get a direct signal for processing and amplification. In the amp, using a USB Cable and Audiotec Fischer’s PC-TOOL software, we did our magic and separated the channels to where they should go and got the system a proper tunning.
Combining all 4 channels for the hidden subwoofer was the way. That means it does not matter if you use fader or balance on your dashboard, the subwoofer always keeps performing.
The other parts of sound tuning are correct balance (volume output match), crossovers setting, time alignment, phase correction, polarity checks, equalizing and fine EQ balancing. It’s a long process but the difference is incredible.
PHASE 3: Listening
After each installation there comes the most important, most anticipating but also the most fun part: listening to the job we’ve done. It can reveal mistakes and it tells us if we need to do more tuning still. After everything is finalized, listened to and accepted, we check all that everything else is done and call the customer the car is ready for pickup.
We then sit in the car with them again, and on several different testing songs, we are getting the last bits of tuning done to adjust the system to their ears. It could be more or less of bass, high tones, balancing the centre stage, more, less or no surround sound and more.
Results:
CONCLUSION: Car upgrade in brief
It is a lengthy process where every aspect is just as important as the next from the speaker and other parts selection to how it’s all installed and tuned. When it’s all done properly, which takes time, we can see how customers are amazed at what can be achieved in the car.
And indeed, this CX-5 new custom-tuned sound system was received with excitement. John said that it was far better than Mazda that he heard but did not buy and in the end, ended up having the actual premium sound system.
Let’s Upgrade Your Mazda CX-5 Non Bose System
If you’re based in Sydney, Australia, and want to unlock the full potential of your Mazda Cx-5 2024 sound system, we’re here to help.
📞 Call us: 0415 072 361
📧 Email us: sales@mechatronicar.com.au
At Mechatronicar, we’re passionate about delivering high-quality, tailored audio solutions. Don’t settle for less—let’s create the ultimate sound experience for your ride!
Installation Photos